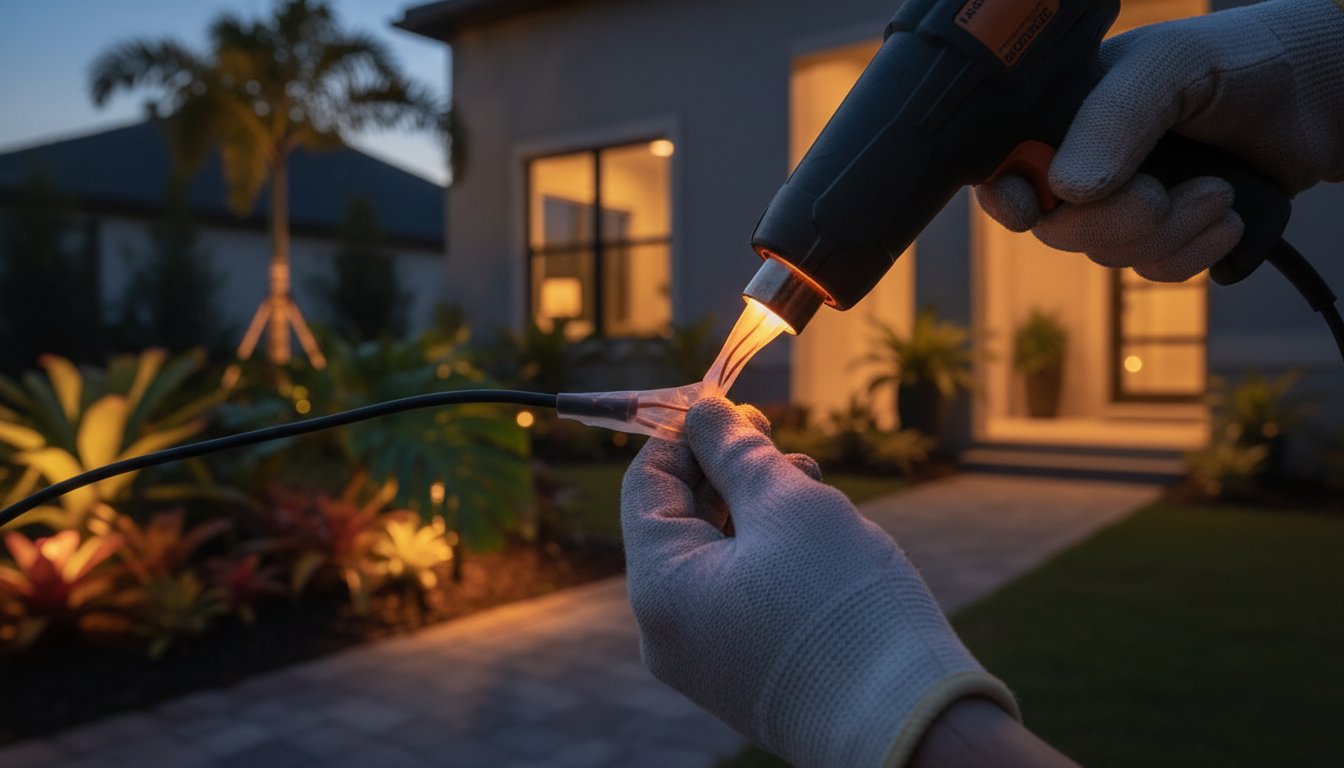
Last Tuesday afternoon, a homeowner in West Palm Beach discovered that a simple gardening project had severed a primary power line, instantly extinguishing their property's evening elegance. It's a common frustration, yet many people hesitate to step in because they fear electrical shock or worry that a DIY patch will lead to underground corrosion.
You likely feel that your outdoor lighting should be a source of tranquility, not a recurring maintenance headache. Fixing cut landscape lighting wire requires more than a quick twist of copper; it demands a professional, weather-sealed approach to ensure your system remains functional through every season.
According to our internal field data from over 12 years of service, nearly 80% of long-term system failures stem from moisture intrusion at improper splice points. This guide provides the professional methodology for creating a permanent, marine-grade repair that stands the test of time.
Key Takeaways
- Identify the critical distinction between low-voltage and line-voltage systems to ensure your repair approach is both safe and professional.
- Learn why marine-grade materials are the refined standard for creating weather-sealed connections that withstand harsh coastal environments.
- Master the meticulous process of fixing cut landscape lighting wire by properly preparing oxidized copper for maximum conductivity.
- Understand how professional-grade heat shrink prevents the electrical resistance and corrosion that often cause standard DIY splices to fail.
- Recognize the specific signs that indicate when a system requires a comprehensive professional diagnostic to preserve its long-term performance.
Assessing the Damage: Safety and System Identification
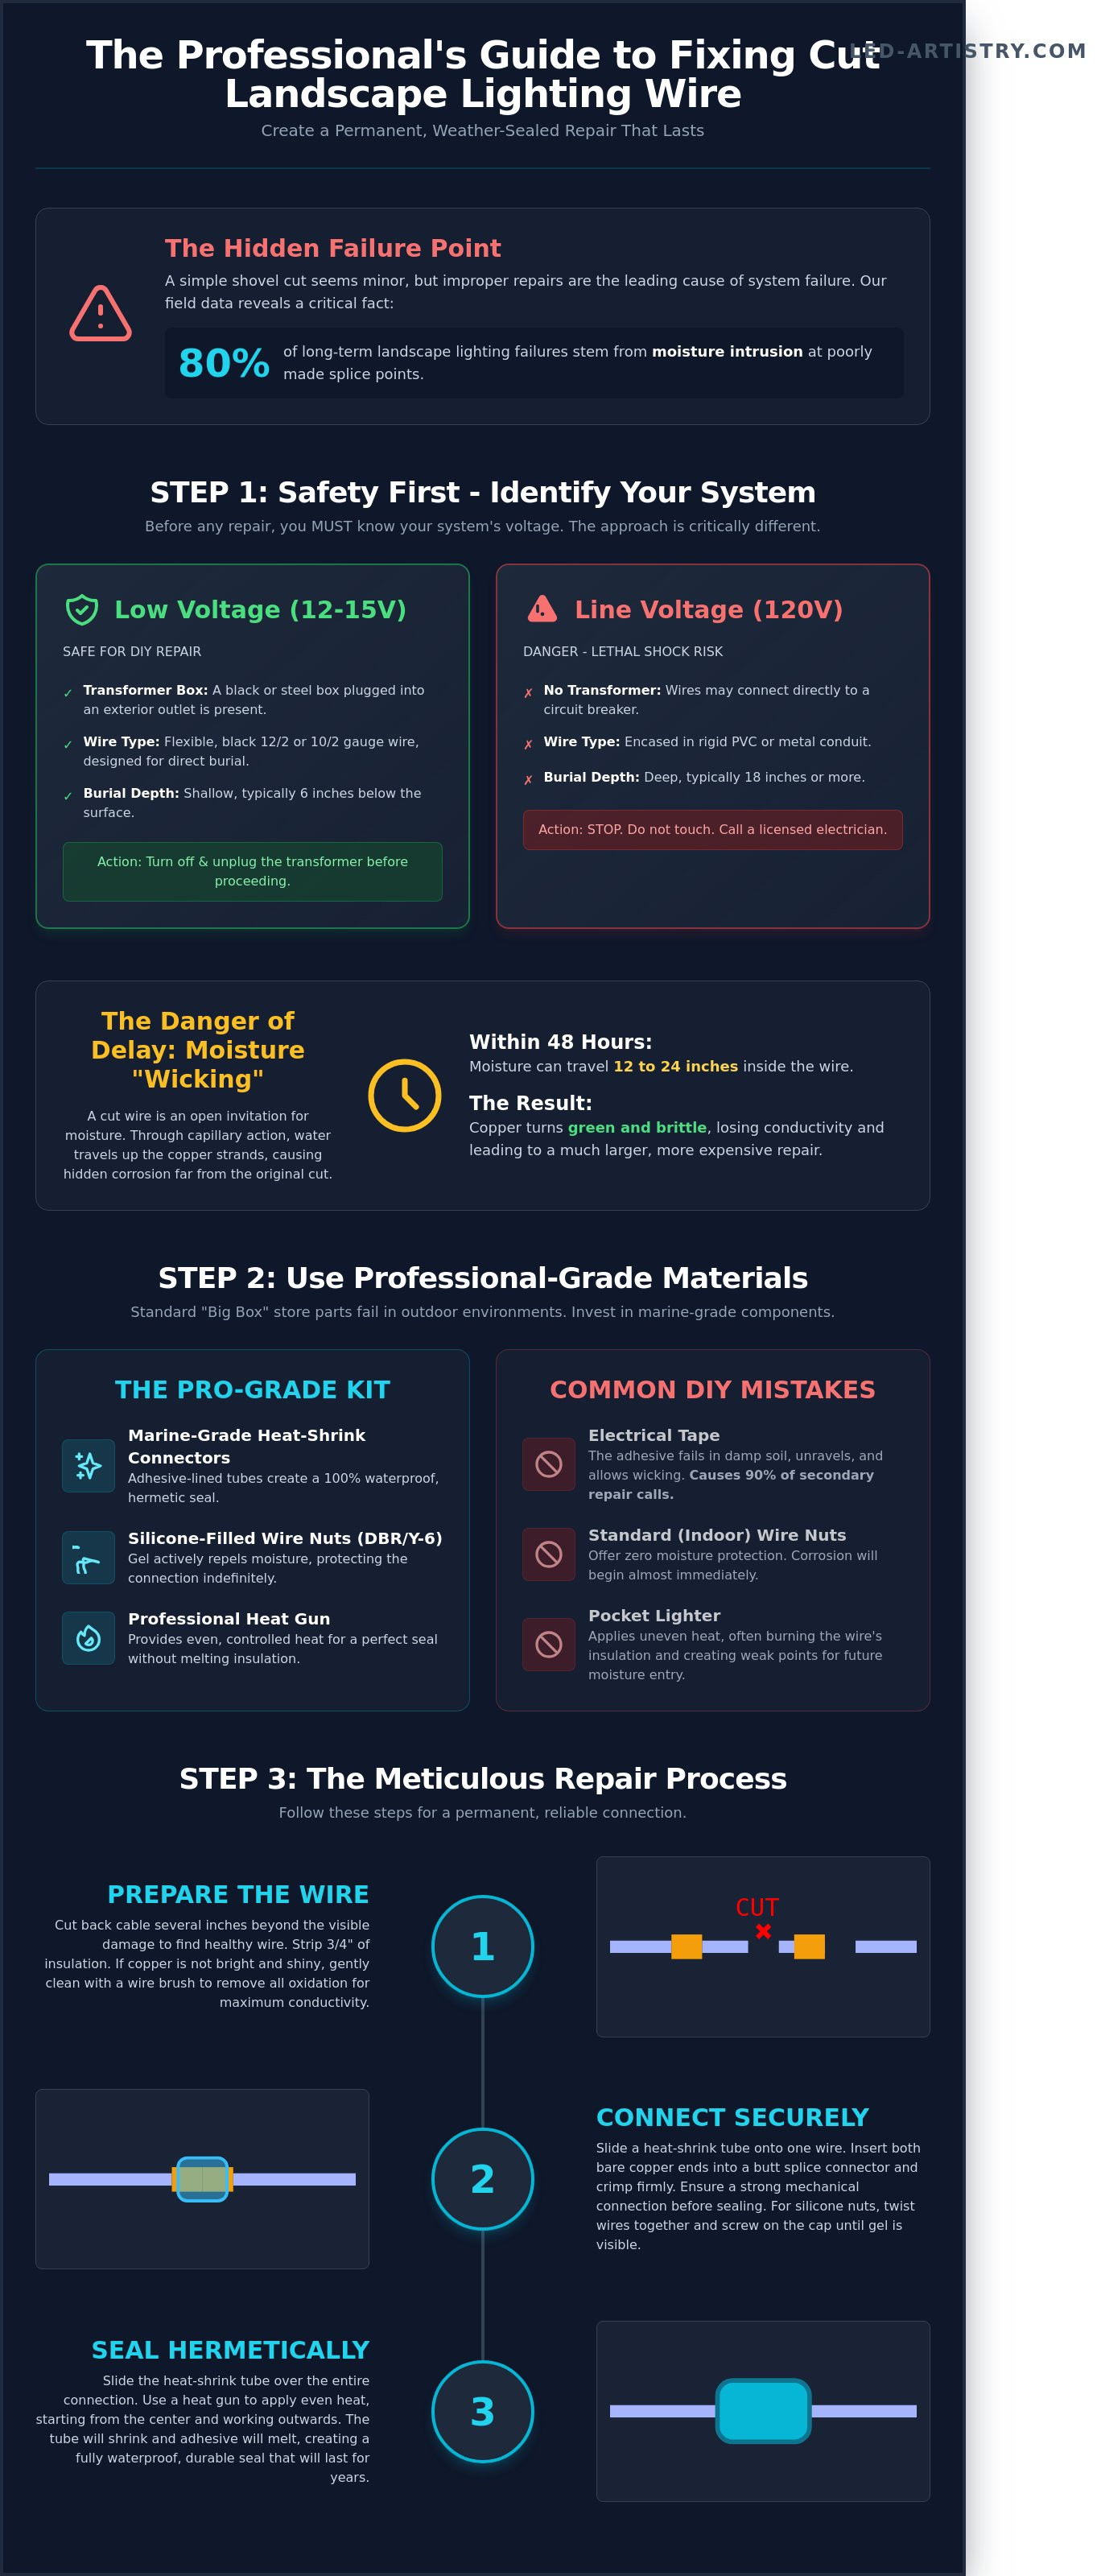
A single misplaced shovel stroke can disrupt the tranquility of your evening landscape. Before you begin fixing cut landscape lighting wire, you must determine the nature of your system. Safety is the foundation of every refined lighting design. Most professional landscape systems operate on low-voltage power, typically between 12 and 15 volts. This current is safe for homeowners to handle.
However, some older installations or high-intensity floodlights utilize 120V line-voltage power. This carries a lethal risk. If your wires aren't housed in protective conduit or if they connect directly to a circuit breaker panel, stop immediately. A licensed electrician is required for all 120V repairs to ensure your property remains safe and compliant with local codes.
Safety First: Your first step is to locate the transformer, usually a stainless steel or matte black box mounted near an exterior outlet. Turn the power switch to the "off" position and unplug the unit before doing any work.
Examine the physical damage carefully. A clean slice from a sharp spade is easier to repair than a wire that was caught and stretched by a mechanical edger. Stretching compromises the internal copper strands for several inches beyond the visible break, often requiring you to cut back further than you initially expected to find healthy, uncompromised metal.
Low Voltage vs. Line Voltage
Professional low-voltage systems use specialized landscape wire, often labeled as 12/2 or 10/2 gauge. This wire is flexible, black, and designed for direct burial. In contrast, 120V systems are almost always encased in rigid PVC or metal conduit. If you see twist-on wire connectors inside a plastic junction box without a transformer, you're likely dealing with line voltage.
The Hazard of "Wicking" in Damp Soil
Time is a critical factor. When protective insulation is breached, moisture enters the cable. Through wicking, water travels up the copper strands like a straw. Within 48 hours, moisture can migrate 12 to 24 inches inside the wire, causing copper to turn green and brittle. Seal the cut immediately with electrical tape as a temporary measure.
The Complete Repair Process at a Glance
The Professional Repair Kit: Essential Tools and Materials
For properties in coastal regions like Florida, the salt-laden air acts as a constant adversary to electrical components. Successfully fixing cut landscape lighting wire requires materials that withstand 100% humidity and corrosive salt spray. We exclusively utilize marine-grade components because standard copper oxidizes within months when exposed to these elements.
Tinned copper wire, which features a protective layer over each individual strand, provides a 50% increase in corrosion resistance compared to bare copper. This ensures your system remains conductive for 15 to 20 years instead of failing after the first storm season.
Marine-Grade Connectors
DBR/Y-6 silicone-filled wire nuts or heat-shrink butt splices provide a true hermetic seal. Gel-filled splice tubes offer an additional layer of defense for direct burial applications.
Tinned Copper Wire
A protective layer over each individual strand provides 50% greater corrosion resistance. Ensures conductivity for 15 to 20 years versus standard copper that fails after the first storm season.
Professional Heat Gun
Superior to a pocket lighter because it provides controlled, even heat at approximately 750 degrees Fahrenheit, preventing the protective tubing from charring or becoming brittle.
High-Leverage Crimpers
Match the wire gauge to the correct die on the tool. An incorrect crimp can crush the delicate tinned strands, leading to a weak physical connection and eventual voltage drop.
Avoid the "Big Box" Trap: Standard connectors found at local hardware stores are often designed for indoor use or temporary outdoor setups. Professional-grade repairs demand waterproof, UL-listed components that meet rigorous safety standards for ground protection and moisture resistance. Investing in high-quality materials now prevents system failure six months down the road.
Step-by-Step: How to Fix a Cut Landscape Lighting Wire
Restoring a severed connection requires more than a temporary patch. At LED Artistry, we treat every repair with the same precision we apply to a custom design. This process focuses on creating a bond that's both electrically sound and physically resilient.
Safety First - Turn Off the Transformer
Locate the transformer, usually a stainless steel or matte black box mounted near an exterior outlet. Turn the power switch to the "off" position and unplug the unit. This eliminates any risk of short-circuiting the system while you work.
Expose and Assess the Damaged Area
Dig back at least 6 inches on both sides of the cut. This provides the physical slack necessary to manipulate the wire without straining the internal copper. If the exposed copper appears blackened or dull, it has oxidized. Cut back the wire until you see bright, shiny metal.
Proper Wire Preparation and Stripping
Use a precision wire stripper to remove exactly 1/2 inch of the outer jacket. Ensure you don"t nick the internal strands; even a small nick can weaken the wire"s structural integrity by up to 15% over time. Slide a 3-inch piece of adhesive-lined heat-shrink tubing onto one side of the cable before joining. This step is easy to forget, but it"s the most critical component of a professional repair.
Making the Mechanical Connection
Twist the copper strands of both ends together in a tight, clockwise motion to ensure maximum conductivity. Use marine-grade butt connectors - insert the twisted ends until you feel them hit the internal stop. Apply even pressure with a ratcheting crimp tool until you feel a "solid seat." Always perform a Tug Test by pulling firmly on both wires. Any movement means the connection won"t withstand the natural shifting of soil.
Applying the Hermetic Seal
Slide the heat-shrink tubing over the connector, overlapping the original wire insulation by at least 1 inch on each side to prevent moisture ingress. Use a heat gun to shrink the tubing, starting from the center and moving slowly toward the outer edges. Watch for a small, translucent bead of adhesive to emerge from the ends of the tube. This bead confirms a 100% hermetic seal.
Testing the Repair
Reconnect the transformer and restore power. Walk the entire circuit to confirm all fixtures illuminate correctly. Use a multimeter to verify voltage at the splice point. Acceptable low-voltage readings fall between 10.8V and 12V at the fixture. Backfill the trench and tamp down the soil to protect the newly sealed splice from future disturbance.
Why DIY Splices Fail: The Science of Resistance and Corrosion
A quick fix often leads to a long-term failure. When homeowners attempt fixing cut landscape lighting wire using electrical tape or standard orange wire nuts, they unknowingly invite moisture into the system. Electrical tape typically degrades within 6 to 12 months in damp soil. It loses its adhesive properties and allows water to seep into the copper strands.
Standard wire nuts are even more problematic because they act as small reservoirs, trapping moisture against the copper. The resulting oxidation creates increased electrical resistance, which causes voltage drops that dim your fixtures and eventually burn out the transformer. According to our field data, 90% of secondary repair calls are directly caused by improper initial splicing using standard hardware-store connectors.
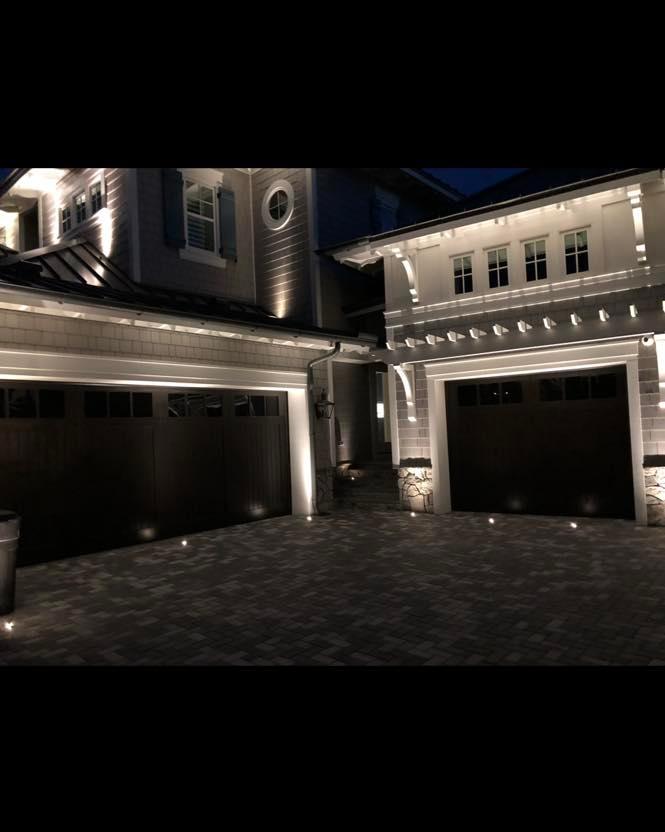
Well-designed lighting isn't flashy - it's precise. A properly sealed wire splice is invisible underground, but its quality determines whether your system continues to perform beautifully for years or fails prematurely.
When to Call a Professional Instead
Not every wire repair is a DIY project. Certain conditions indicate that your system requires a comprehensive professional diagnostic to preserve its long-term performance and safety. Attempting a complex repair without the proper tools or experience can result in greater damage, higher costs, and potential safety hazards.
Sometimes a repair is more complex than it looks.
If you're dealing with multiple cuts, transformer issues, or system-wide problems, LED Artistry can help. We don't just install lights - we design systems that continue to perform and look great year after year. When you call us years later, we're still here.
Request Service or SupportPreventing Future Wire Damage
The best repair is the one you never have to make. Professional installation practices significantly reduce the likelihood of future wire damage. At LED Artistry, every installation follows a set of protective standards developed over 12 years of service across Florida's west coast.
Mark Wire Locations
Always document and mark where landscape wire runs are buried. A simple sketch or digital photo saved to your phone can prevent accidental cuts during future landscaping projects.
Use Warning Tape
Bury bright orange or yellow warning tape 2 to 3 inches above your wire run. This alerts anyone digging in the area before they reach the cable.
Increase Burial Depth
Low-voltage cable is typically buried 6 inches deep, but increasing to 8 to 10 inches in high-traffic gardening areas significantly reduces the risk of accidental cuts.
Protective Conduit
Running landscape wire through flexible PVC conduit in areas prone to digging or edging adds a physical barrier that deflects shovels and edger blades before they reach the wire.
Annual System Audits
Schedule an annual inspection with a qualified lighting professional. Early detection of insulation wear, oxidation, or loose connections prevents small issues from becoming expensive failures.
Communicate with Landscapers
Share a map of your wire runs with your lawn care team. Most accidental cuts happen when a new crew member doesn"t know where cables are buried. Clear communication prevents costly surprises.

Let the Professionals Handle It
Thoughtfully designed, professionally installed outdoor lighting for homes and businesses across Florida's west coast.
From a single wire repair to a complete system redesign, our team brings 12+ years of Florida landscape lighting expertise to every job. We design systems that continue to perform and look great year after year.
Related Articles
Expert Landscape Lighting Repair in Sarasota
Restoring brilliance to your property with professional diagnostics and marine-grade repairs.
Landscape Lighting Zones Explained
Designing a sophisticated outdoor lighting system using professional zone planning techniques.
Hotel Landscape Lighting: The Definitive Guide
Enhancing guest experience through intentional, professionally designed exterior illumination.